1. Login to you Microsoft Admin portal.
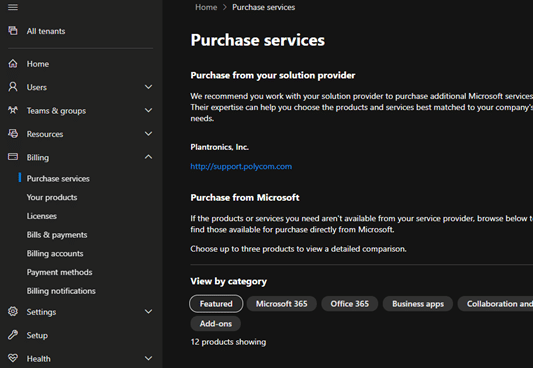
2. On the left side of the Admin page select Billing > Purchasing Services
Getting your Microsoft Teams Room Basic licenses and assigning them to your Room accounts.
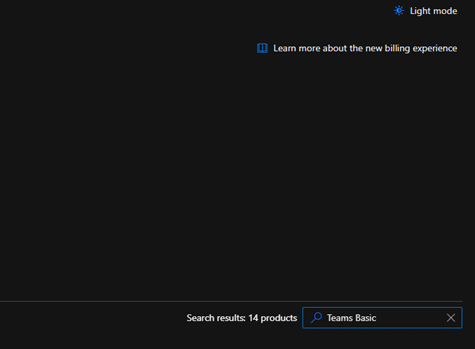
3. On the far right in the search box enter Teams Basic and hit enter.
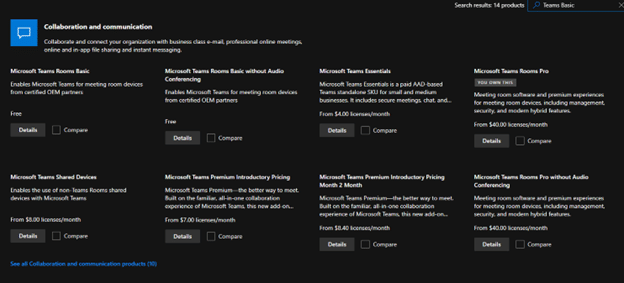
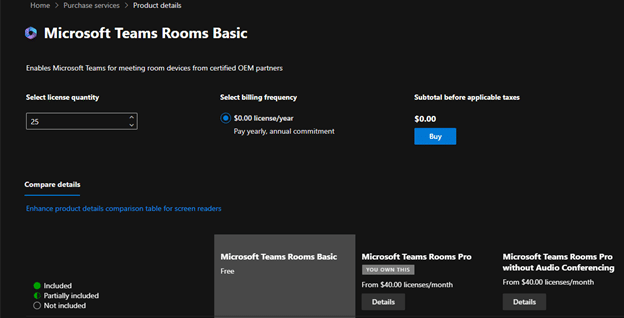
4. Under Collaboration and Communication you should see the following licenses available. Select the Details Button for the Microsoft Teams Room Basic Free Licenses.
5. Under the Select License quantity change the number from 0 to 25 and click the Buy Button.
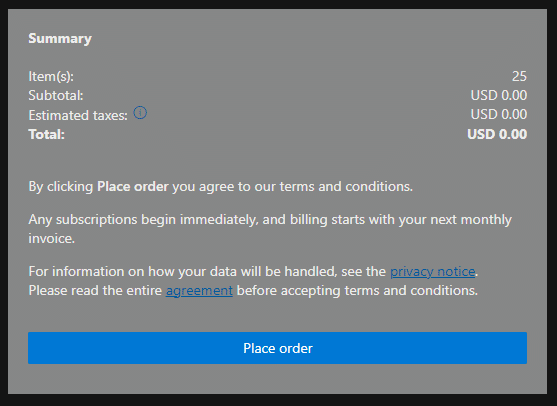
6. Click the Place order button on the far right in the summary box.
7. After the order is placed you should be prompted with an Your All Set! Screen with the order confirmation number. Click on the Go To Admin Home link.
Assigning Your Microsoft Teams Room Basic Licenses.
8. From the Microsoft Admin portal window Select Users > Active Users.
9. Choose the Room Accounts that you wish to assign a Microsoft Teams Room License to by clicking on the Display Name.
10. In the right-hand window click on Licensing and apps.
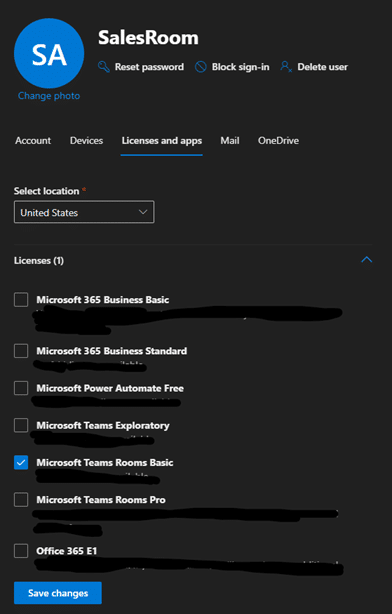
11. Check the box for Microsoft Teams Room Basic and remove any other un-needed licenses then click on the Save Changes Button.
