Let’s Get Started
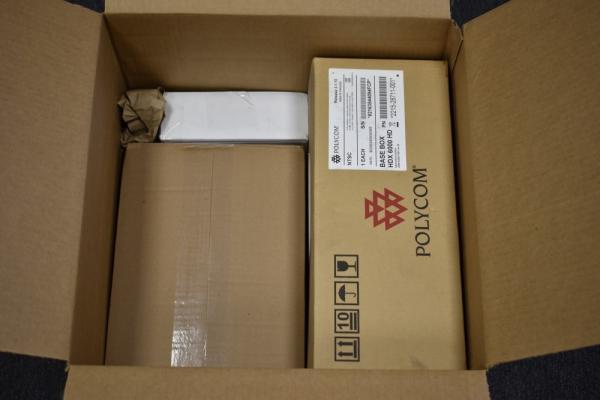
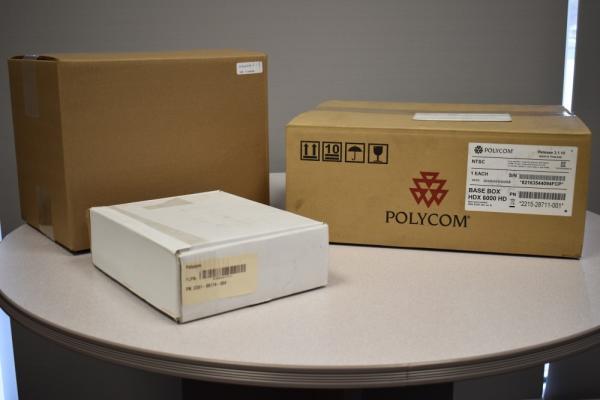
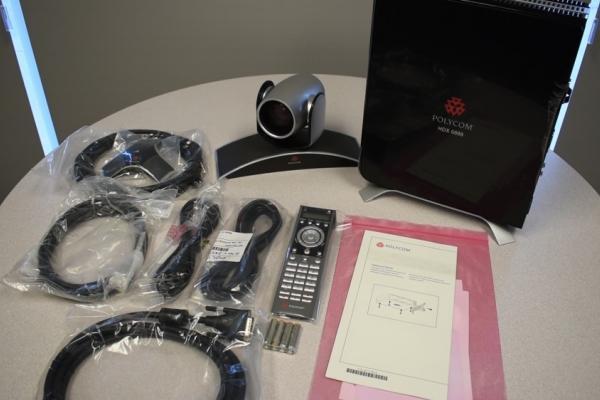
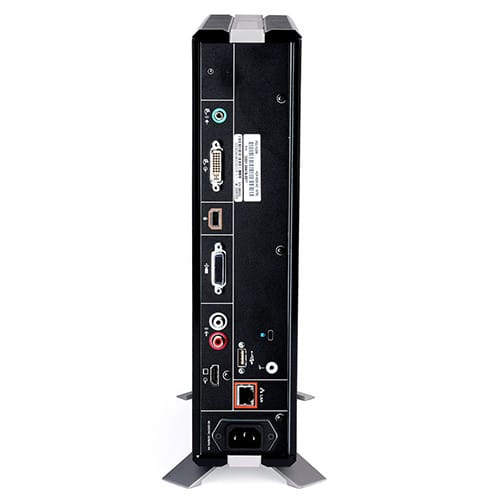
The Polycom HDX 6000 will be able to connect most standards based H.323/SIP video conference systems right out of the box with a quick and easy setup. 323.tv sells complete Polycom HDX 6000 systems that come with everything you need to start making calls right away. Your HDX 6000 will come packaged with the HDX 6000 codec, EagleEye PTZ camera, and an accessory box that includes the HDX tabletop mic pod, HDX remote, and all the necessary cables to connect the HDX to your network, display and audio device. For your convenience, we have put together the following step-by-step instructions for unboxing and setting up the Polycom HDX 6000 system.

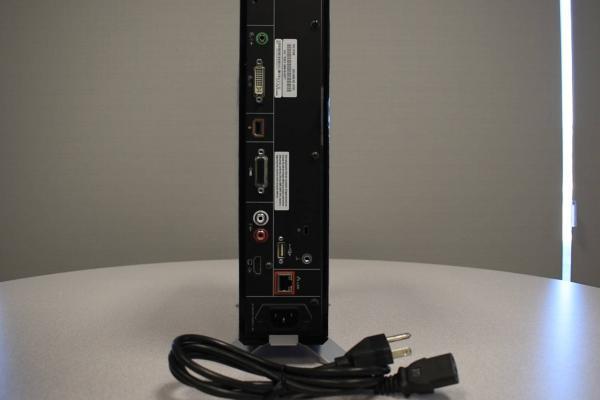

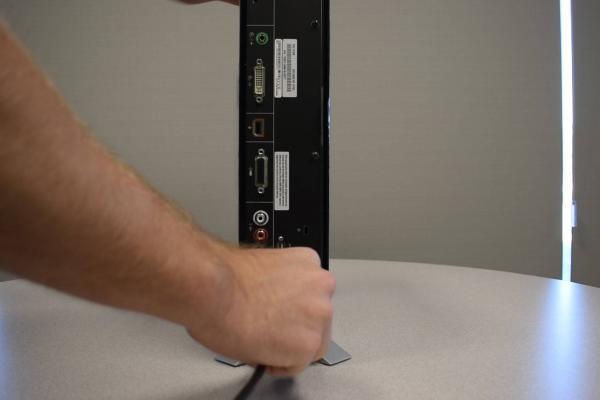
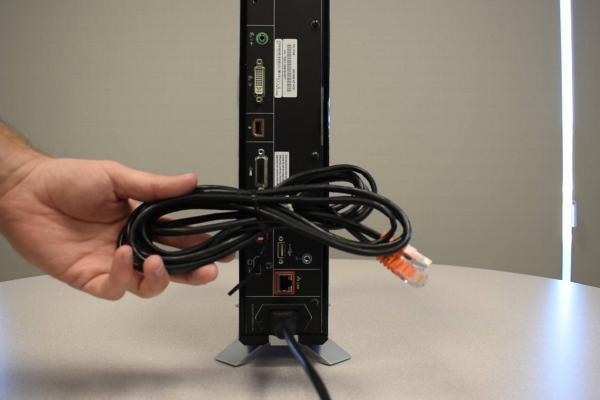
![DSC_0031041[1]-min](https://w5s4t7a9.delivery.rocketcdn.me/wp-content/uploads/2018/11/DSC_00310411-min-600x400.jpg)
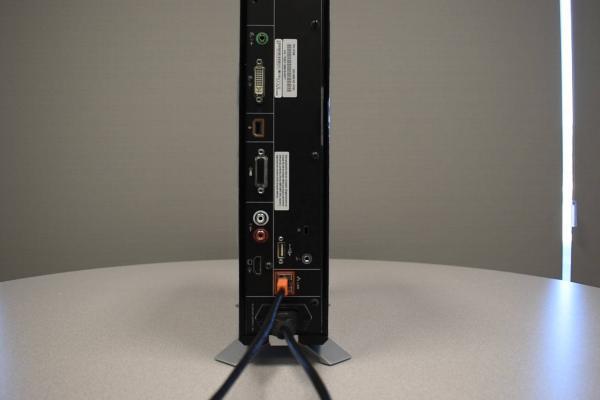
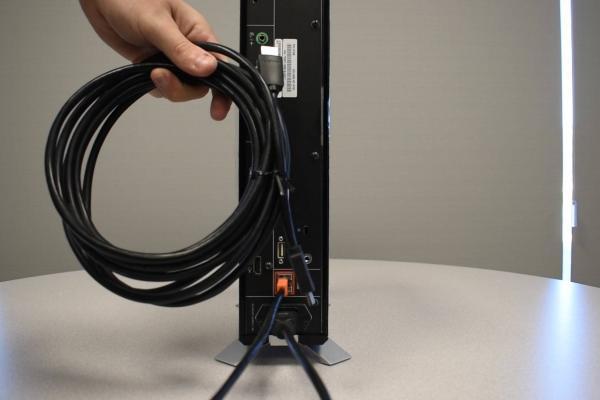
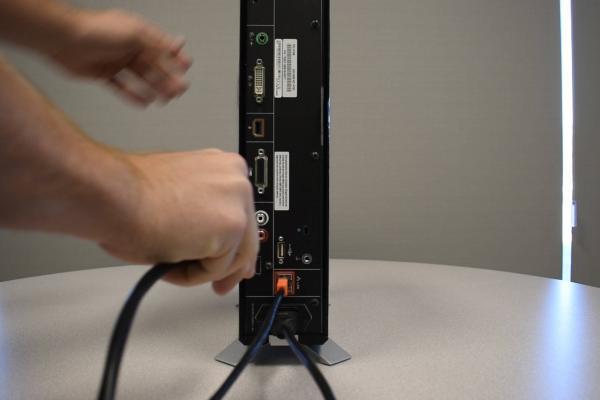
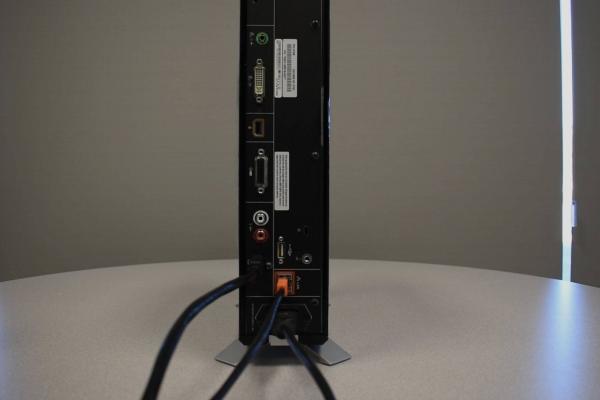
![DSC_00310-2[1]-min](https://w5s4t7a9.delivery.rocketcdn.me/wp-content/uploads/2018/11/DSC_00310-21-min-600x400.jpg)
![Mic-Cable-Connected0[1]-min](https://w5s4t7a9.delivery.rocketcdn.me/wp-content/uploads/2018/11/Mic-Cable-Connected01-min-600x400.jpg)
![HDCI-Camera-Cable[1]-min](https://w5s4t7a9.delivery.rocketcdn.me/wp-content/uploads/2018/11/HDCI-Camera-Cable1-min-600x400.jpg)
![Plug-In-HDCI-Cam-Cable0[1]-min](https://w5s4t7a9.delivery.rocketcdn.me/wp-content/uploads/2018/11/Plug-In-HDCI-Cam-Cable01-min-600x400.jpg)
![HDCI-Cam-Cable-Plugged-In0[1]-min](https://w5s4t7a9.delivery.rocketcdn.me/wp-content/uploads/2018/11/HDCI-Cam-Cable-Plugged-In01-min-600x400.jpg)
![DSC_00310-3[1]-min](https://w5s4t7a9.delivery.rocketcdn.me/wp-content/uploads/2018/11/DSC_00310-31-min-600x400.jpg)
![Plug-in-camera0[1]-min](https://w5s4t7a9.delivery.rocketcdn.me/wp-content/uploads/2018/11/Plug-in-camera01-min-600x400.jpg)
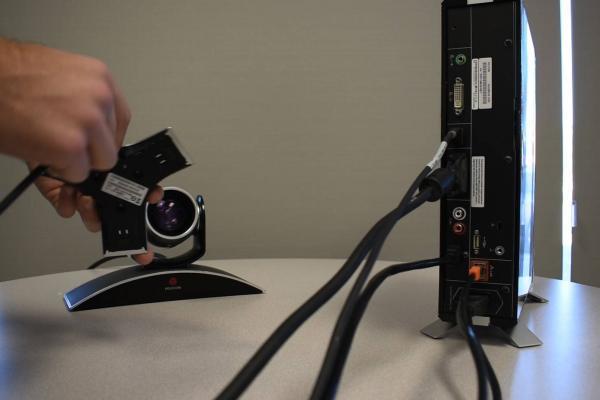
![Mic-cable-with-mic-pod0[1]-min](https://w5s4t7a9.delivery.rocketcdn.me/wp-content/uploads/2018/11/Mic-cable-with-mic-pod01-min-600x400.jpg)
![Micpod-connected2[1]-min](https://w5s4t7a9.delivery.rocketcdn.me/wp-content/uploads/2018/11/Micpod-connected21-min-600x400.jpg)